Ultramarines Forge
World Rhino/Razorback WIP Part 2
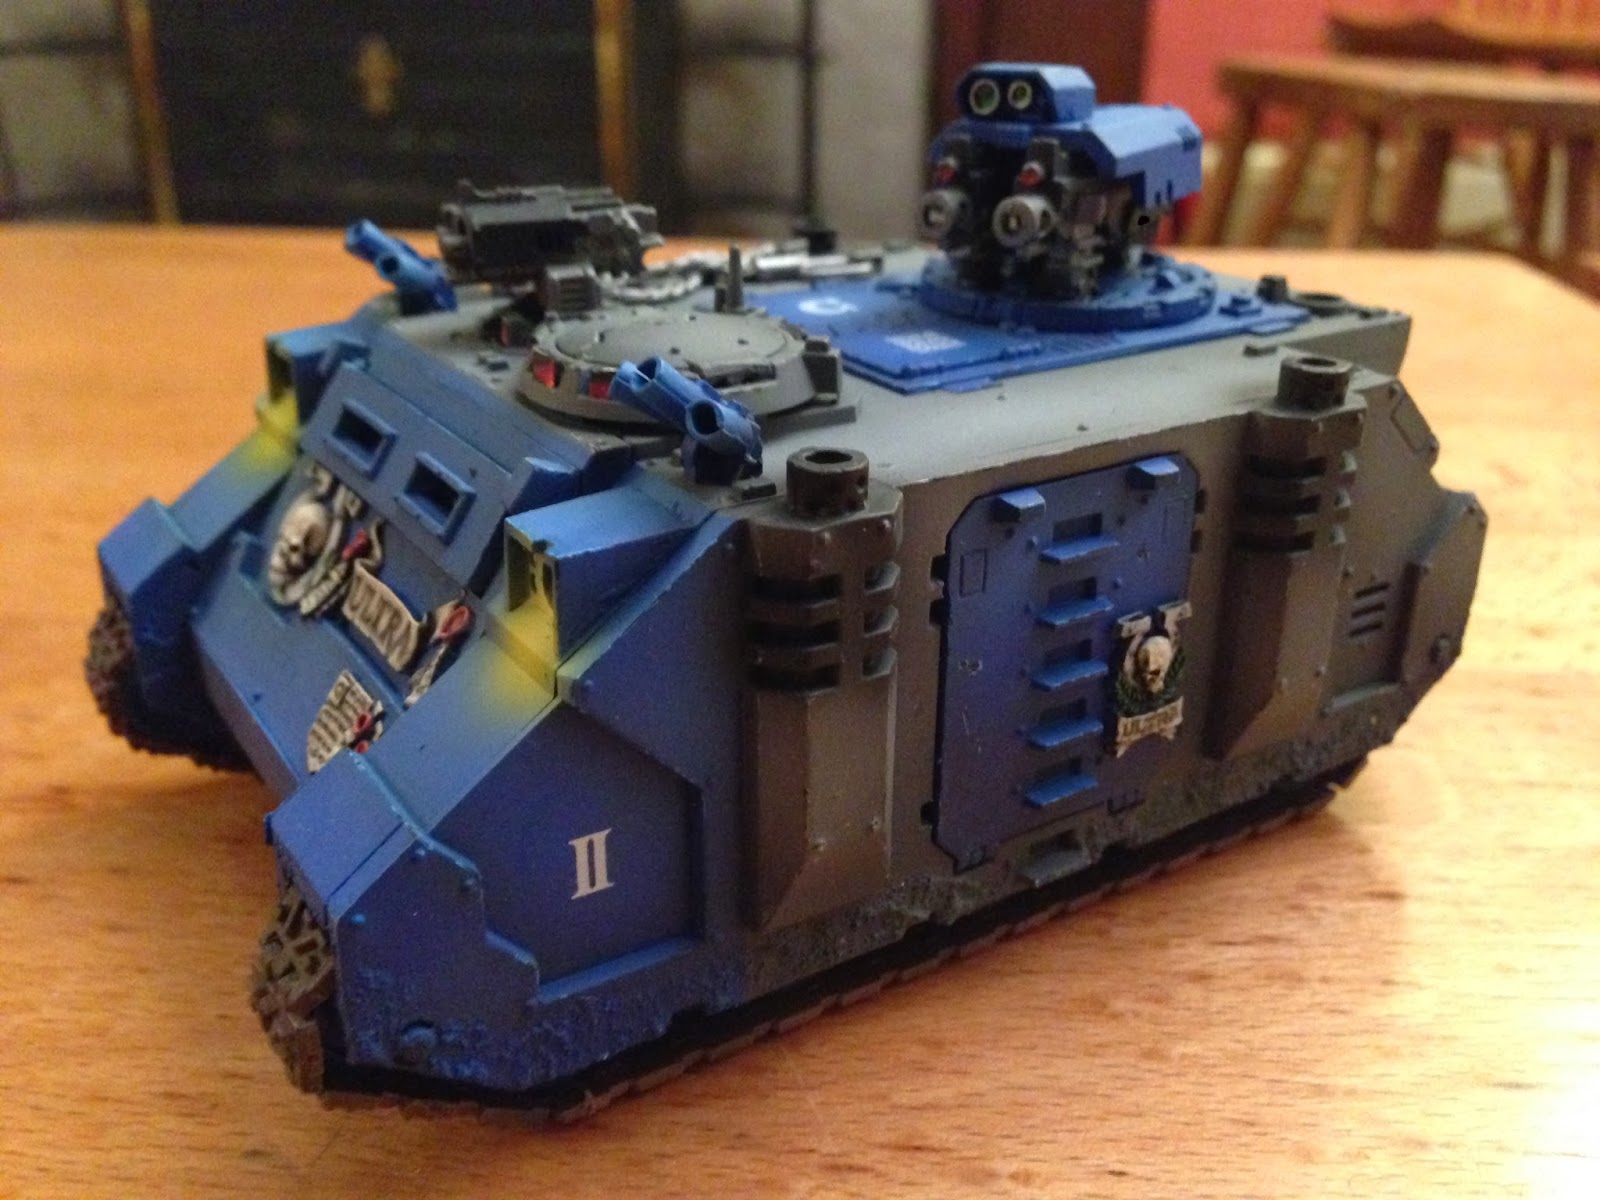
So a bit of a delay
in getting this up, but her comes part 2 – exterior and turrets done, and now
getting ready to oil/pin wash then onto weathering. The VMA blues are great for Ultramarines and make it really
easy to shadow/highlight the various parts. (VMA Steel Blue, French Blue and Light Sea blue – VMA
thinner 50:50 with Light Sea blue all at 20psi through the AB).

The Ultramarines U
was made using the tutorial provided by Buypainted. A good compass and cutting tool were essential in getting an
even shaped U – it took a few tries, but worth getting right. Lining it up on the part isn’t as easy
as it looks – again take time to get it right otherwise you will be repainting
the blue…(only once for myself….)

The additional turret
parts came from Forge Planet – another really good supplier of parts. I ordered an Assault cannon turret,
saving the assault cannons for my Stormraven (they look far better than GWs),
leaving extra bits to make up both variants of turret that come with the kit.

3mm plasticard and
3mm diamter x 1 mm thick magnets were combined to make the interchangeable top
hatches – really easy with a bit of super glue and measuring. A good metal ruler really useful for
cutting these parts out neatly and safely.

I chose not to use
every Forge World Rhino component on this tank so I could spread them out
across the 3 Rhino/Razorbacks I plan to build for this army. I purposefully chose not to use the
Ultramarine Rhino doors, as I want them to be unique in the army and fitted on
my Stormraven.
Forge World etched
brass and transfers are a must for any Army I think, just because they can be
used in so many different ways to make each model unique.
The weathering
through sponging was built on using Vallejo pigments – then pigment fixer. I really like the way the floor has
come out, highlight of the model so far, along with the neat split between the
blue and grey using Tamiya Masking tape to good effect.

Personal complaints
and changes I need to make; I wish I had taken a little longer sealing the gaps
on the smoke launchers (laziness…, will sort it on future kits), the yellow on
the lights is too bright for a first stage and will re-paint this red and build
to yellow (props to Medow Arts for his light effect). All in all happy with progress – every day a school day and
learning more as I go. Another thing I tried was adding the Vallejo Sandy Paste before priming - the aim being when I weather using my browns through the AB as dust, it will look more incorporated and natural...we shall see!

Itching to get 500pts finished off. Tactical Squad half-way there (WIP to come), Librarian and second
Rhino to go. 1000pts should be
easy to hit, Land Raider, (including some additions from first post) all done
and 5 Thunder Hammer Terminators all set up ready for paint.
Lookin good HTB, I don't really like the smurfs, too generic but the dual colour scheme works well. Livens them up a bit. I'd like to see how the weathering works out with that textured paint. Have you tried mixing pigment with an acrylic resin for a textured muddy look before?
ReplyDeleteNo I haven't TBH - I need to finish off the weathering when I get the chance, been busy with work but will hopefully get back to this model soon. Keen to keep trying with the Sandy Paste and get that right for now - I have high hopes for this technique. The Ultramarines do seem to get a hard time with people not keen on the colours. This is partly where the 30k paint scheme idea has come from, trying to use more whites and greys to make the vehicles especially that bit more interesting. Chief Librarian Tig and the new Chapter tacs make Ultramarines pretty good IMO so in order to make the most of that, I need to make the Army on the table that bit more interesting to back their potential capability up.
ReplyDelete