There is no getting round the fact the new release for
the Space marines has been fantastic, just fantastic, huuuuge some may say... I
digress. In my next few articles I plan to complete my own take on Tale of Four
Gamers running in White Dwarf, to get a table-top ready, pure Ultramarines
Primaris force up and running.

This first article will talk through the thinking that
went in to organising the project and some of the early build.
The new boxed starter sets and easy build kits make
for great value. Using retailers like 4tkgaming that offer
significant % discounts, the savings begin to stack really quickly. Selling-off
the Deathguard side of the box also helps. To focus my purchases I chose to
write a list that covered what I would need to run 2 detachments (a battalion
and auxiliary detachment of some sort). This would provide a frame I can add to
next year.
The list also tries to tick off the common Tale of
Four Gamers challenges; HQs, mandatory troops choices before sprinkling in
elites and heavy support (...or dedicated transports - more later). So what did
I go for? My initial target for Nov is as follows:
Ultramarine Battalion (6CP)
Primaris Captain
Primaris Lieutenant
3 x 5 Intercessors
3 x Repulsors
Vanguard Detahment (1CP)
Primaris Librarian
2 x Redemptor Dreadnought
1 x Reiver Squad
This is a low model count list that captures many of
the new releases and gives me the tool box to draw from when I choose to add
things like Hellblasters, an Apothecary, Inceptors etc later on.
The initial shopping list tackles the troop choices
and I got everything without wasting (not using models) as best as I could.
Tale of One Gamer Challenge 1: Troops and HQs
- Dark millennium box set (Lieutenant, Bolter Lieutenant used as a Sgt, 10 Intercessors).
- Free Intercessor on magazine (1 Intercessor).
- Easy build Intercessors (looking back you see I get a third 5 man squad as a result).
- Captain
- Librarian
- 2 boxes of easy build Reivers
Unlike previous projects, I built the models to 90%
complete rather than staged assemblies (which provides a better finish, but
takes so much longer to work through).
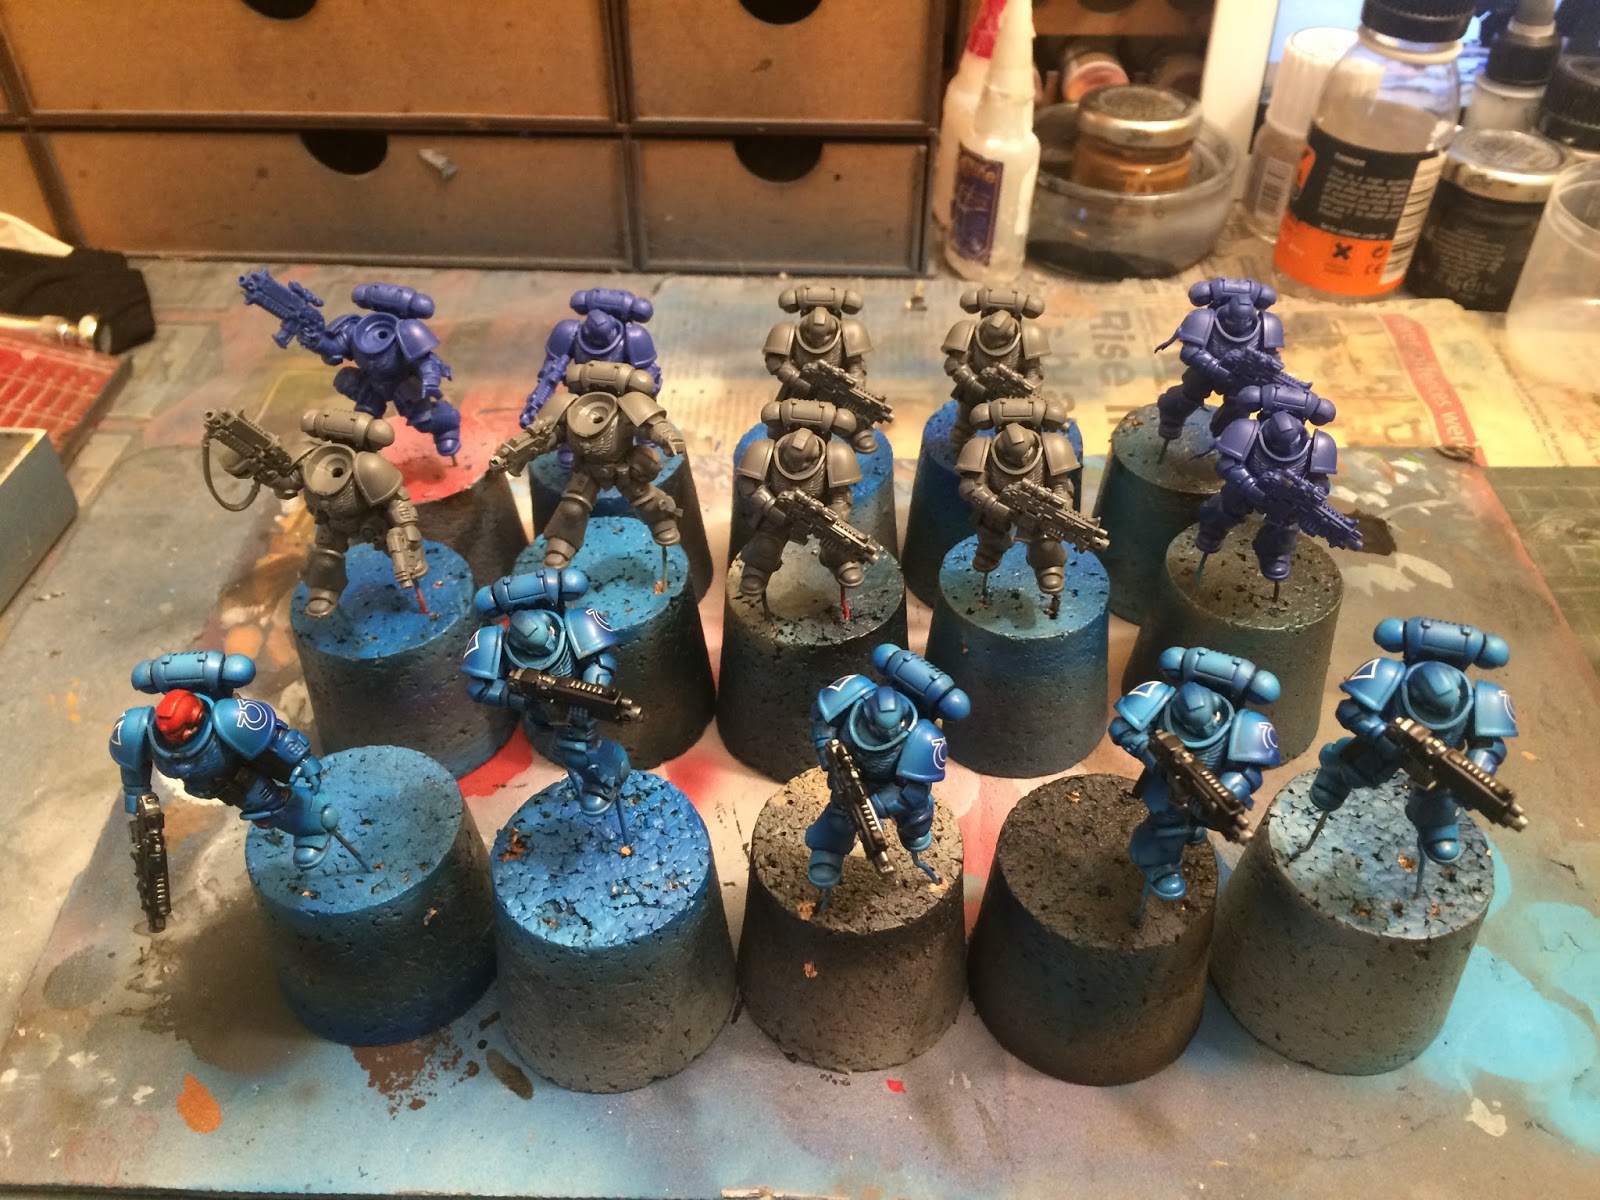

I used the Inceptors as a test run and to speed up
completion; I aimed at getting the correct colour and wash on every surface and
stopping there. "Good bases and good faces" was another philosophy I
am choosing to rely upon to get a good table top army.

The Inceptors came out really well, and moved quickly
to start on the Intercessors. The larger models play so well to the airbrush -
you have more space to build transitions which is what the eye likes to see. As
a result as much more interesting finish can be achieved on each infantry
model. I like my old marines but really like the fact I can add these in as
well. The press fit kits have also come such a long way, the drop in quality
between press fit and multipart kits is almost gone altogether.
I have prepared and finished all the bases I need for
this part of the project (as well as what I require for the rest of my early
infantry builds) and have assembled what I need. I can't help but have some
other elements in progress as well and this is good practice provided it doesn't
become an overwhelming distraction from having too many projects running.


I have started to post progress on my Instagram; the
next article will cover the conclusion of part 1 and the finished models!
HTB
Greetings, I couldn't find a way to contact you, so hopefully this works. I've recently started painting a primaris army, and I can get really great transitions thanks to the airbrush. But I can't figure out how to wash the model without losing my transitions/making the colors muddy. How did you do yours? Or did you pin wash?
ReplyDeleteThanks for your time. Your models look good.