
WIP: Falchion and Stormtalons

Just a few snaps of what I am working on ready for Saturday and AOP.  Getting there...but not much time left and it still feels as though there is a lot to do!


It's looking good but the oil wash takes an age as does the chipping....times-a-ticking!


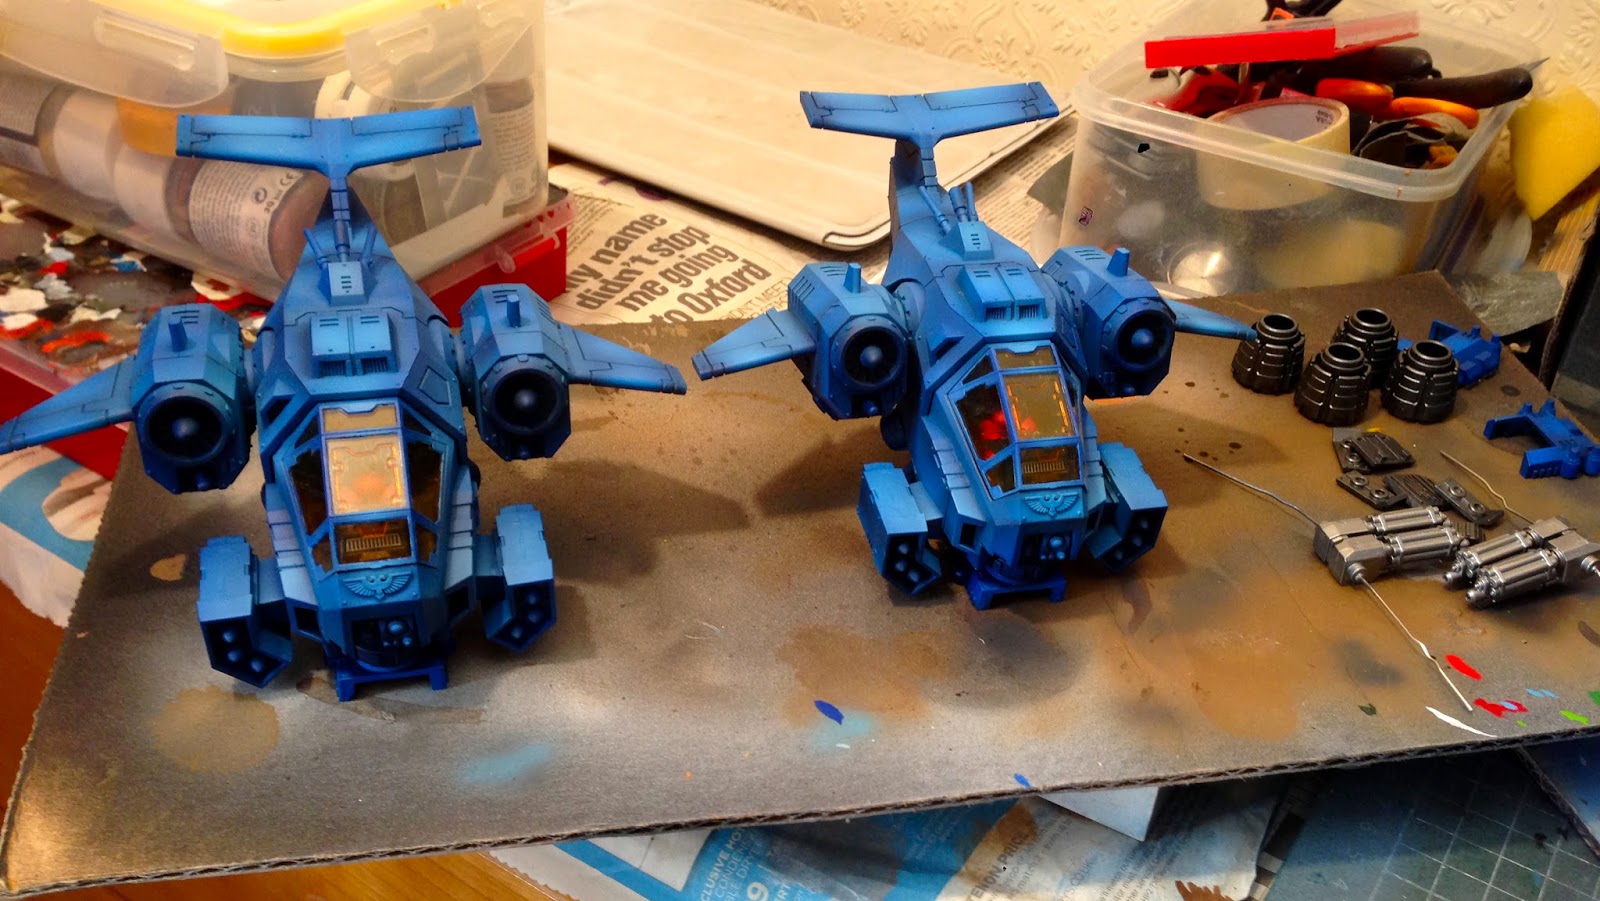
Heat effect and OSL on the top cover worked well - nailing that process now.


Interiors done on these 2 as well.  I only need one for my AOP board but would love to have them both finished by Saturday.  We shall see... HTB.


Comments

  1. Love the heat staining on the muzzles on that tank! Can you do a tutorial? Always love to see someone take the time to do cockpit interiors on the flyers rather than making the canopy opaque.

    ReplyDelete
    Replies
    1. i seccond this... truely amazing work on that!

      Delete
  2. Thanks guys, will try and get a tutorial on the heat effect and how I do the basic blue marine colours very soon.

    ReplyDelete
  3. Really nice job on the heat staining. Looks so fantastic. Tank is coming along so well! Great work!

    ReplyDelete

Post a Comment

Popular posts from this blog

House Cadmus Imperial Knights

This post has been sat in my archive for far too long. I am not going to pretend it is new work - it has been up on my Instagram for some time but I thought I would show you some WIP photos and talk through some tips on making what is a very large project manageable. Hopefully of use to someone out there! Three Kinghts is a decent amount of work - but to be fair, you pretty much have an army once you are done.  To keep me motivated and to make the project achievable I broke it down into stages: 1. The Metal Skeletons 2. Panel Work 3. Bases 4. Weaponry. This approach will save you time and will help you get 3 Knights above table top quality quickly and efficiently. It won't feel like it as you go - but trust me when you reflect, you will have saved yourself some serious time.  There is also a uniformity you can't replicate from doing 1 then adding 2 later on... Take the pain and work in multiples....read on... 1. The Metal Skeletons: Army Painter Silver Rattle Ca

Forge World Scorpion Type II – Saim-Hann

Forge World Scorpion Type II – Saim-Hann With my first project under my belt, I dug out a Forge World kit that had been left under the bed for a good number of years.  I could not ge the smooth finish I wanted so parked the model to one side, but never came back to it.  All the practicing of pre-shading, zen highlighting and shading using the Falcon kits drove me to dig it out and get it done.  This will be more step by step but do ask questions below if you want something made clearer.  Again, Buypainted! gave a vast amount of guidance and inspiration - credit where credit is due! 1.                The main hull was constructed, wing-lets, tail section etc.  The turret was also built however don’t do what I did initially and leave the pulsars sperate.  The crew and smaller weapons were mounted on old sprues to assist in painting.  The whole lot was primed us Vallejo Polyurethane Grey Primer – great stuff, and key to get the different sh

Ultramarines Super Heavy Falchion Tank

Finally finished the Falchion and another model in line with the core theme of the blog.  I picked this up back in March at the Forge World open day, with a view to have it finished before wider release... anyway...  it's done now.  The techniques involved are covered in the Glaive tutorial.  This time around I have tried to apply some of the pointers and tips passed on from Matt Murphy-Kane and Mark Bedford from not only Warhmmer Fest, but the FW open day to.